

Day Yosemite National Park Itinerary Guide for Viewpoints and Easy Hikes to Try!
1) Day 1 Morning: Arrive Early + Park Once Strategy
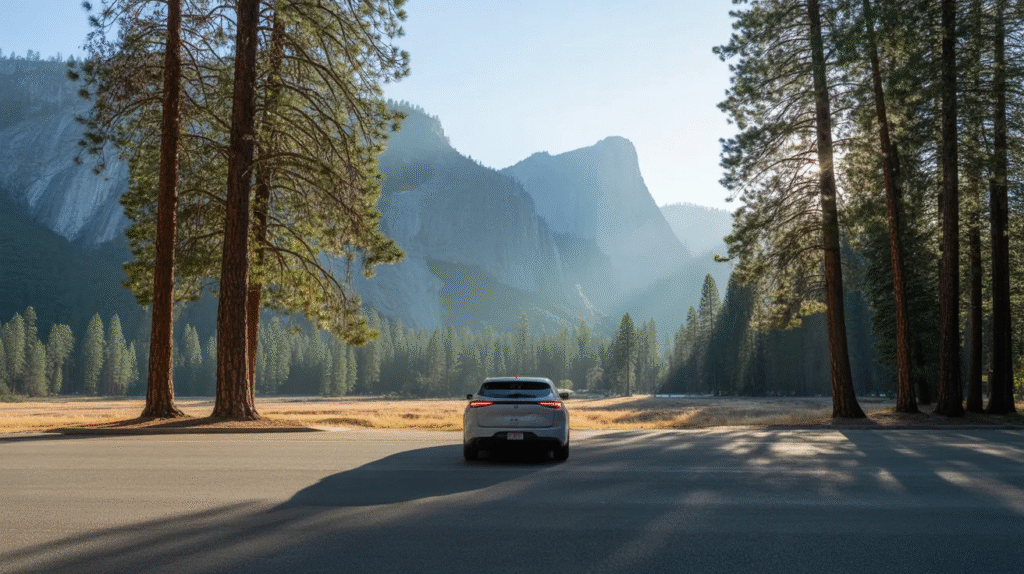
Start Day 1 with a “park once” mindset. Aim to enter early, grab a main lot spot near Yosemite Village, then switch to shuttles or walking for most of the day. It saves time, reduces stress, and keeps your itinerary photo-friendly because you’re not constantly circling for parking. Keep a small daypack ready with water, snacks, and layers so you can hop off the shuttle whenever a view looks good.
Build your morning flow around simple wins: one iconic viewpoint, one easy waterfall loop, and one meadow stroll. This keeps energy high without over planning. If you’re visiting in peak season, confirm if entry reservations apply for your dates and arrive before the busiest hours. Yosemite plans change fast with weather and crowd levels, so staying flexible is the real secret to a perfect two-day trip. (National Park Service)
2) Sunrise Stop: Tunnel View Classic Photo Spot
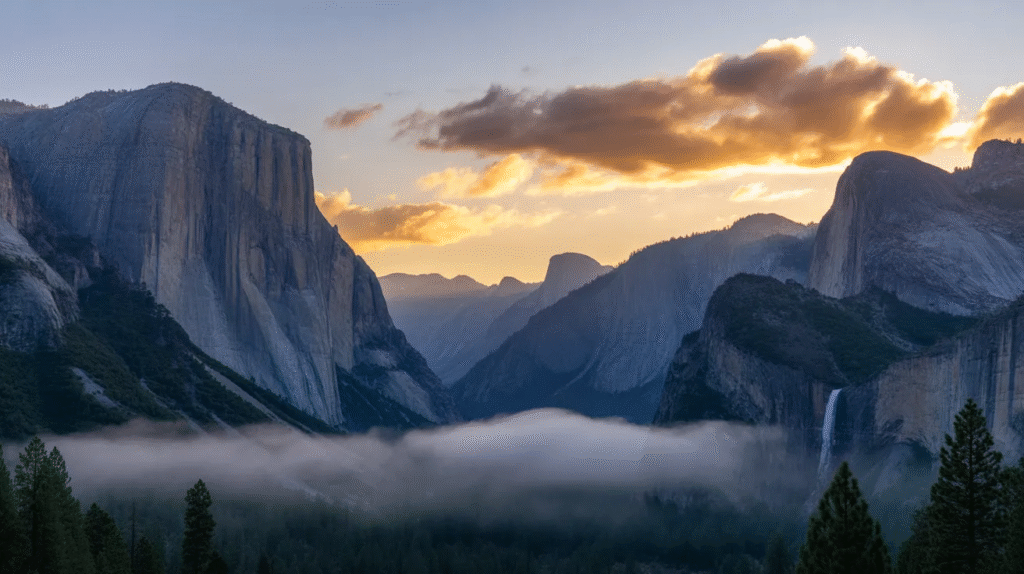
Tunnel View is the “save-worthy” Yosemite moment—one stop that instantly makes your itinerary feel complete. Arrive at sunrise for softer light, fewer people, and that dreamy valley glow. Take a few wide shots, then switch to close-ups of granite textures and clouds moving through the valley. This is also the perfect place to set the tone for Day 1: slow, scenic, and easy.
After photos, don’t rush. Let the viewpoint be your calm start, then drive into the Valley for your first short hike. If you’re traveling with family or first-timers, Tunnel View delivers a big impact with minimal walking, which makes it ideal for a two-day plan. Keep a thermos or warm drink for cold mornings, and you’ll feel like you’re filming a travel reel in real life.
3) Quick Orientation: Yosemite Valley Visitor Area Reset
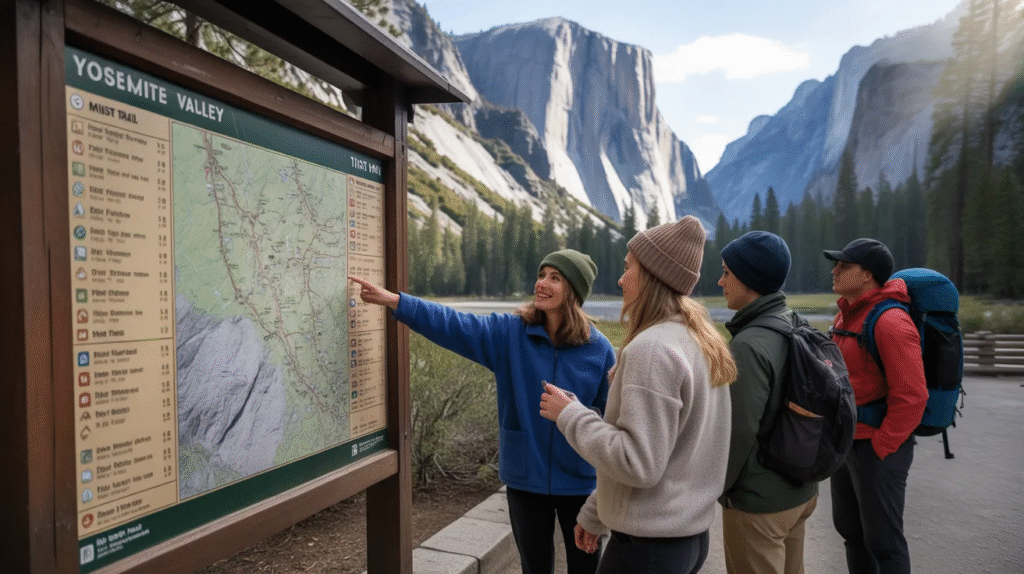
A short visitor-area stop makes the rest of your itinerary smoother. Use it to confirm shuttle routes, check trail notes, and get a feel for how long stops actually take. This is also where you can decide what’s “easy” for your group today—short loops, meadow walks, or a gentle riverside path. It’s a smart pause that prevents the classic mistake of trying to do everything at once.
Treat this as your planning checkpoint: pick your top three must-sees for Day 1 and keep the rest as optional add-ons. If you’re relying on shuttles, note that Yosemite Valley shuttles are free and run during the day and evening, making it easier to bounce between viewpoints and trailheads without moving your car. (National Park Service) This is the moment your two-day itinerary starts feeling effortless.
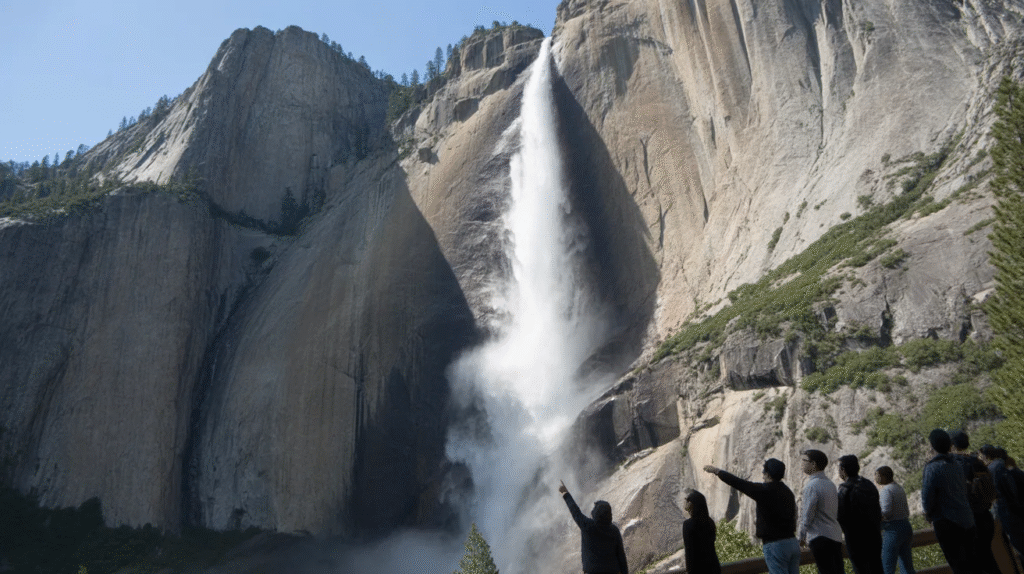
4) Easy Hike: Lower Yosemite Fall Loop

Lower Yosemite Fall is perfect when you want a real waterfall moment without a big hike. The loop is short and satisfying, and it’s a great “first trail” because it builds excitement fast. Walk it slowly and look for the best angles where the fall lines up between trees. If you love Pinterest-style photos, capture tiny people in the frame to show scale—Yosemite always looks more dramatic that way.
This trail is also a strong choice for mixed groups because parts are accessible when not icy or snow-covered. (National Park Service) Go earlier in the day for calmer paths and easier parking/shuttle timing. Pack a light layer because the air near the waterfall can feel cooler. After this loop, your Day 1 momentum is set—waterfall, views, and zero exhaustion.
5) Meadow Magic: Cook’s Meadow + Yosemite Falls Views
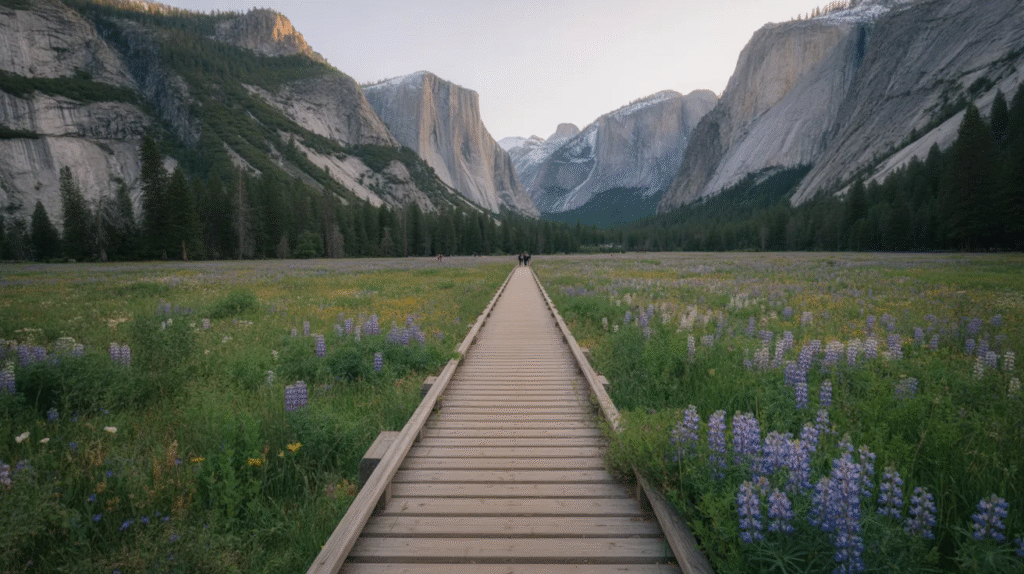
Cook’s Meadow is the easiest way to get “wide-open Yosemite” photos with almost no effort. The boardwalk and flat paths make it feel gentle, but the views feel huge—granite walls, open sky, and waterfall glimpses depending on the season. It’s also great for a mid-day break when you want movement without committing to a long hike. Think of it as your scenic reset button.
Walk with intention: pause often, frame shots with tall grass or boardwalk lines, and look for reflections after rain. This is also a great place to spot climbers on El Capitan if you bring binoculars or a zoom lens. Keep snacks handy and turn it into a mini picnic moment. The slower pace makes this stop feel luxurious, not “extra.”
6) Icon Shot: Sentinel Bridge Half Dome View
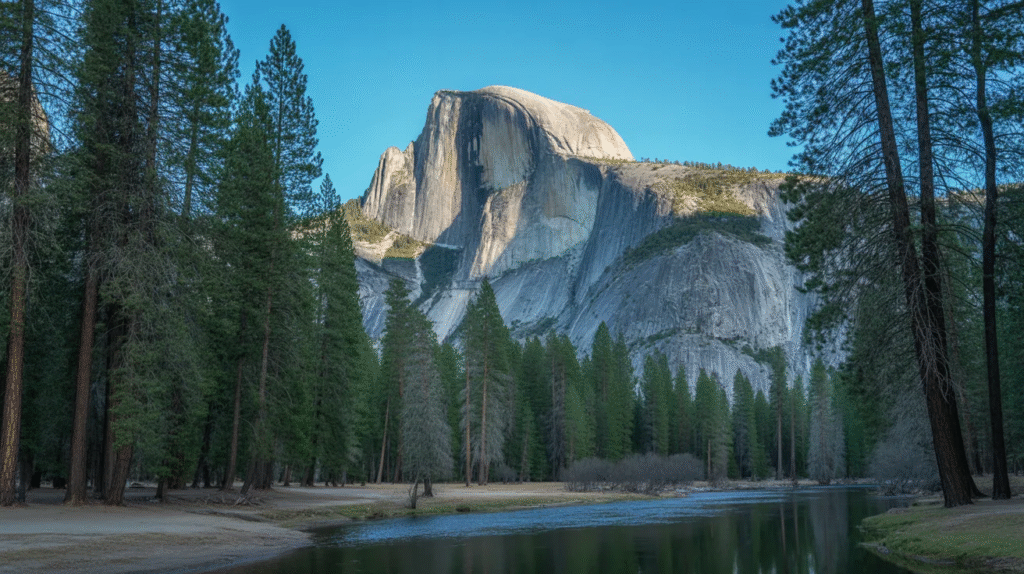
Sentinel Bridge is a quick stop that delivers that clean, postcard-perfect Half Dome view. Even if you only have two days, this is worth a few minutes because it’s so iconic and easy. Aim for clear morning light or late afternoon when the granite warms up in photos. If the river is calm, try capturing reflections for a “wow” image that looks edited even when it isn’t.
Because it’s fast and close to other Valley stops, it fits perfectly between hikes. Use this as a “content break” before your next walk: take photos, breathe, and enjoy the sound of the water. If you’re building a Pinterest pin, this is a strong cover image. Add a quick caption like “2-day Yosemite itinerary” and you’ve got a high-save travel post instantly.
7) Easy Adventure: Yosemite Valley Bike Loop
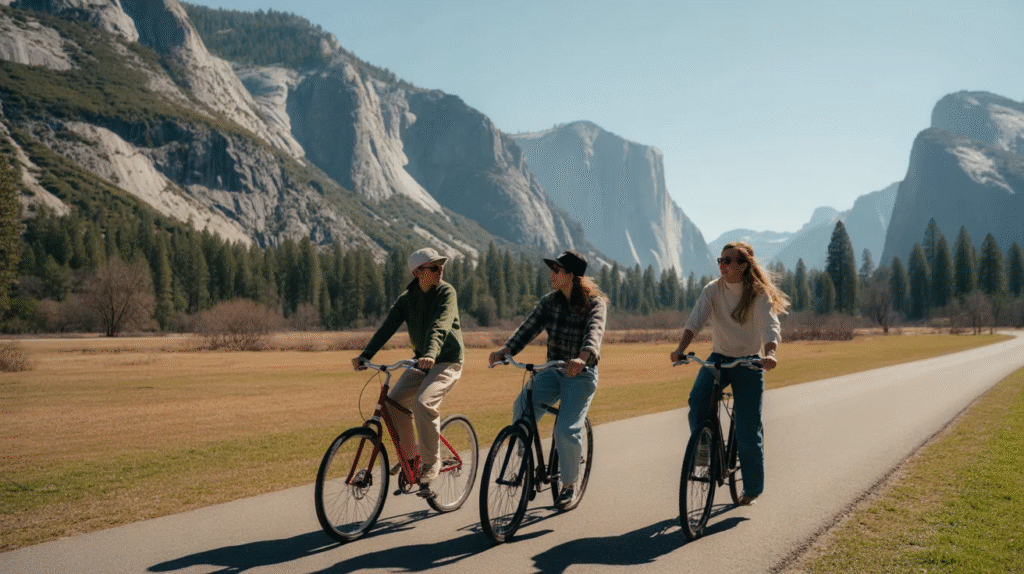
Biking the Valley is one of the easiest ways to feel like you “did a lot” without actually hiking hard. Pedal at a relaxed pace, stop whenever a meadow or river view calls you, and you’ll cover more ground than walking. It’s also a fun way to build a Day 1 afternoon that doesn’t feel crowded, because you’re always moving toward the next scenic moment.
Bike rentals are available in Yosemite Valley (seasonally and conditions permitting), so check availability when you arrive. (National Park Service) Bring your own lock if you can, since rentals may not include one. (Travel Yosemite) Add a snack stop, take a few bridge photos, and you’ll create a full “Yosemite day” feeling without wearing yourself out.
8) Easy Trail: Mirror Lake Walk (Choose Your Distance)

Mirror Lake is a flexible stop: you can do a short out-and-back or keep going if you’re feeling energized. The walk is mostly gentle, and the reward is that calm, reflective scene that feels peaceful after busy viewpoints. It’s a great late-afternoon plan because the light can be soft and the vibe feels quieter than midday Valley hotspots. Bring water and take your time.
This is also an easy place to create a “slow travel” moment: sit near the shoreline, snack, and enjoy the views instead of rushing. The lake’s look changes seasonally, so treat it as a “see what you get” stop rather than a guaranteed mirror reflection. Either way, the canyon walls and surrounding trees make your photos feel classic Yosemite.
9) Scenic Pause: El Capitan Meadow Viewpoint
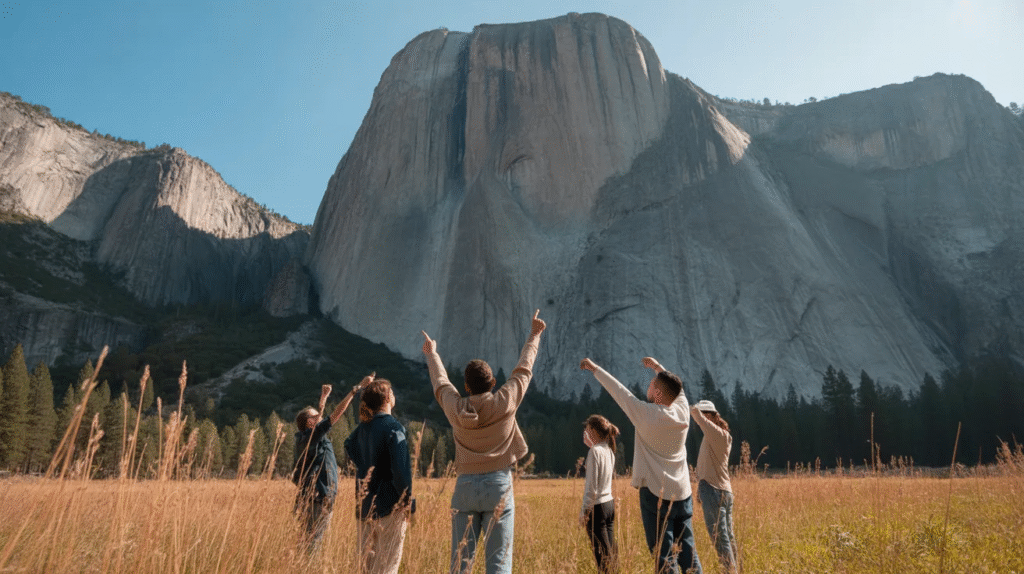
El Capitan Meadow is a must for first-timers because the scale is unreal. You don’t need to hike—just step out, look up, and you’ll understand why Yosemite is legendary. This is the perfect stop to add into your Day 1 flow between easy trails. If you want an iconic “tiny human vs giant granite” shot, this is the place to get it.
Bring binoculars if you have them and watch for climbers as tiny dots on the rock. It’s a fun detail that makes the view feel alive. Keep this stop short and sweet: 10–20 minutes is enough to soak it in and capture photos. Then move on before the crowds build. It’s a small time investment with a huge itinerary payoff.
10) Waterfall Moment: Bridalveil Fall View (Quick + Powerful)
Bridalveil Fall is one of the best “minimal walking, maximum wow” stops in Yosemite. It’s ideal for a two-day itinerary because it’s fast, dramatic, and gives you that misty waterfall feeling without a long hike. If you’re visiting in spring, the flow can be especially impressive. Keep your phone lens clean—mist can fog photos quickly, but it also makes the scene feel magical.
This stop pairs well with Tunnel View because they’re both classic photo moments, and together they create a strong Day 1 storyline. If you’re pinning this itinerary, Bridalveil Fall is a perfect “easy hike” highlight. Wear shoes with grip, especially if the path is wet. Then head back into the Valley for a sunset viewpoint so your Day 1 ends with a big finish.
11) Sunset Plan: Valley View Golden Hour
Valley View is an easy, high-reward sunset spot that feels calm and cinematic. Arrive a little early, pick a simple composition with the river and granite walls, and let the light do the work. This is where your Day 1 photos can look the most “professional” without trying. If the water is reflective, you’ll get that dreamy mirror effect that performs beautifully on Pinterest.
Make it cozy: bring a light jacket, a snack, and a small blanket for sitting. Take wide shots first, then zoom in on details like glowing rock edges and soft ripples in the river. The goal here is not to rush—sunset is your built-in slow moment. Afterward, head back for dinner and an early night so Day 2 starts strong.
12) Night Add-On: Simple Stargazing Pull-Off
If the sky is clear, Yosemite nights can be surprisingly magical, even with a simple stargazing plan. You don’t need to drive far—just find a safe pull-off or open area, let your eyes adjust, and look up. This is a fun “bonus” that makes a two-day trip feel bigger. It also creates Pinterest-worthy content that’s different from the standard daytime viewpoints.
Bring a warm layer and a flashlight with a low setting. If you’re taking phone photos, stabilize your device on a rock or small tripod and use night mode. Keep expectations realistic—cameras see more than eyes—but the experience is always worth it. End Day 1 here if you still have energy, then sleep early so Day 2 can include your most popular trails.
13) Day 2 Morning: Shuttle-First Trailhead Routine
Day 2 is when you’ll appreciate a simple routine: breakfast, water refill, then shuttle to a trailhead while parking is still manageable. Yosemite’s free shuttles help you avoid moving your car and reduce the stress of finding spots at popular areas. (National Park Service) The earlier you start, the more relaxed your hike feels, and the better your photos look in soft morning light.
Use Day 2 to focus on one “main” easy hike plus one scenic grove or viewpoint drive. Keep your schedule realistic: Yosemite distances feel short on a map but take longer with crowds and stops. Check current conditions and trail notes before you commit, especially in shoulder seasons. (National Park Service) A calm morning sets up the rest of the day to feel fun, not rushed.
14) Easy-to-Moderate Hike: Vernal Fall Footbridge (Classic Starter)
The Vernal Fall Footbridge route is a perfect Day 2 “big name, doable effort” hike. You get rushing water, dramatic scenery, and a real sense of adventure without committing to the full Mist Trail climb. Take breaks, drink water, and enjoy the sound of the river—it’s one of the most satisfying short hikes in the Valley. This is also a great place for action photos with water spray and bright greenery.
Trail access and closures can change with maintenance, so always check current updates before you go. (National Park Service) If you want an easier feel, treat the footbridge as your turnaround point and celebrate it as a win. The goal is not to “finish everything,” it’s to experience Yosemite in a way that still leaves energy for the rest of Day 2. That’s how you keep a two-day itinerary realistic.
15) Gentle Scenic Walk: Happy Isles + River Views
After a more active stop, balance Day 2 with a gentle riverside walk around Happy Isles. This area gives you the “Yosemite river soundtrack” and a calmer pace, which is perfect for families or anyone saving energy. It’s also a great spot for candid photos—walking shots, close-ups of pine needles, and those quiet travel moments that make an itinerary feel personal instead of checklist-heavy.
Use this as your mid-morning reset: snack, stretch, and decide what you want next—another viewpoint, lunch, or a grove visit. If you’re using the shuttle, this is easy to pair with other Valley stops without moving your car. (National Park Service) Two-day Yosemite is all about smart pacing, and this is one of the best “easy wins” for that.
16) Optional Upgrade: Short Climb to Columbia Rock (If You Want More)
If your group is feeling strong, consider an optional short climb toward Columbia Rock for a higher-angle view without committing to an all-day hike. Think of it as a “moderate add-on” that makes your two-day itinerary feel adventurous. Start early or go later in the afternoon to avoid heat. The climb is steady, so go slow and treat it like a scenic workout rather than a race.
This is also a good alternative when certain high-country roads are closed for the season. (National Park Service) Pack extra water, take breaks, and turn around whenever it stops feeling fun. Yosemite doesn’t require suffering to be memorable. Even a partial climb gives you fresh perspectives and helps your Day 2 photos stand out from the standard Valley viewpoints.
17) Lunch Plan: Picnic with a View (Easy + Budget-Friendly)
A picnic lunch is the simplest way to keep your two-day itinerary smooth. It saves time, costs less than waiting in lines, and lets you eat exactly when hunger hits. Choose a meadow area or riverside spot, keep food secure, and enjoy a slow moment in the middle of your day. This is also a perfect Pinterest “lifestyle” scene—simple food, mountains, and a calm vibe.
Keep it practical: pack a small trash bag, wipes, and enough water. Aim for 30–45 minutes so you feel refreshed but not stuck. After lunch, you’ll be ready for either a grove visit or one final viewpoint drive. In Yosemite, the “in-between moments” often become the favorite memories, and a picnic is one of the best ways to create that feeling.
18) Big Trees Stop: Mariposa Grove Easy Sequoia Walk
Mariposa Grove is the easiest way to add giant sequoias to your two-day Yosemite plan, and it feels completely different from the Valley. Walking among huge trees is a “quiet wow” experience—less dramatic than cliffs, but deeply memorable. Choose a shorter loop if you want to keep it easy, and focus on slow photos that show scale: stand close to the base, then shoot upward for that towering effect.
Access details can change seasonally, and some areas operate with specific vehicle restrictions or shuttles when open, so check current conditions before you go. (National Park Service) Bring a light layer because shaded grove air can feel cool. If you’re pinning this itinerary, Mariposa Grove is a great Day 2 highlight because it adds variety without needing a long hike.
19) If Glacier Point Road Is Open: Glacier Point View (Top of the List)
Glacier Point is one of the most rewarding viewpoints in Yosemite because it gives you a huge, high-angle panorama with minimal walking. If the road is open during your visit, it’s a perfect Day 2 afternoon plan after easier Valley hikes. Just step out, take in the view, and let yourself be amazed. This stop is made for Pinterest—big scenery, dramatic depth, and a clear sense of “I was there.”
But road access is seasonal, and closures are common due to snow, so always confirm current conditions before building your plan around it. (National Park Service) If it’s closed, don’t worry—your itinerary still works with Valley viewpoints and optional hikes. Yosemite is flexible like that, and the best trips are the ones that adapt smoothly.
20) Easy Ridge Walk Option: Sentinel Dome (Short, Big Reward)
Sentinel Dome is a great “easy-ish summit” when conditions and access allow, especially if you’re craving a big view without a long, technical hike. The route is usually straightforward, and the payoff is that wide-open panorama feeling Yosemite is famous for. It’s a strong Day 2 add-on after a morning Valley hike because it changes your viewpoint completely—higher, broader, and more dramatic.
Check trail and road conditions first, and don’t force this stop if weather or access isn’t ideal. (National Park Service) Bring wind protection, because viewpoints can feel chilly even on sunny days. If you want Pinterest-friendly photos, aim for late afternoon when the light softens and the granite glows. This stop makes your two-day itinerary feel like a complete Yosemite experience.
21) Dramatic Edge View: Taft Point (Careful + Stunning)
Taft Point is one of the most dramatic viewpoints for photos, but it’s important to stay cautious and keep a safe distance from edges. If you’re comfortable with that, it’s an unforgettable Day 2 stop because the view feels wild and cinematic. The walk is often manageable for many visitors, and the payoff is that “cliffside Yosemite” feeling that looks incredible in wide-angle shots.
Always check current conditions and access before you go, especially in cooler months or after storms. (National Park Service) If you’re traveling with kids or anyone nervous about heights, choose a different viewpoint and keep the day stress-free. Your itinerary should feel confident, not scary. The goal is a beautiful memory—and a safe trip home with a full camera roll.
22) Two-Day Yosemite Pack + Plan Checklist (So It Feels Easy)
This is the behind-the-scenes step that makes your two-day itinerary actually work: pack like you want the day to feel simple. Bring water, snacks, layers, sun protection, and a small power bank. Add a light rain shell if the weather looks uncertain. If you’re doing any shuttle-based exploring, keep your bag compact so it’s easy to hop on and off without fuss. Yosemite is more enjoyable when you’re comfortable.
Also plan for flexibility: roads can be seasonal, and some areas may be closed due to snow or maintenance. (National Park Service) Confirm shuttle operations for your dates, and remember shuttles are free in Yosemite Valley. (National Park Service) Finally, double-check whether timed-entry reservations apply to your visit window so arrival is smooth. (National Park Service)