

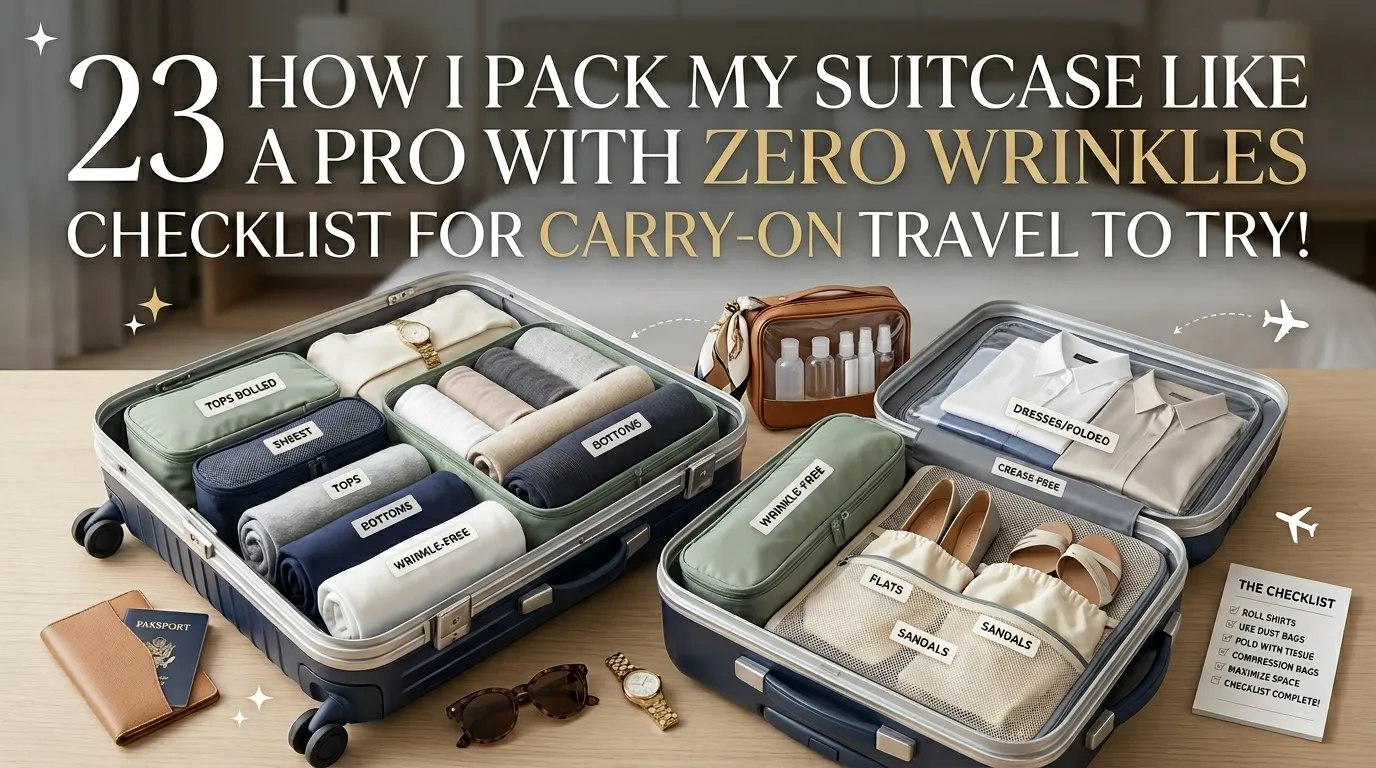
1) Build a “Carry-On Capsule” Color Palette
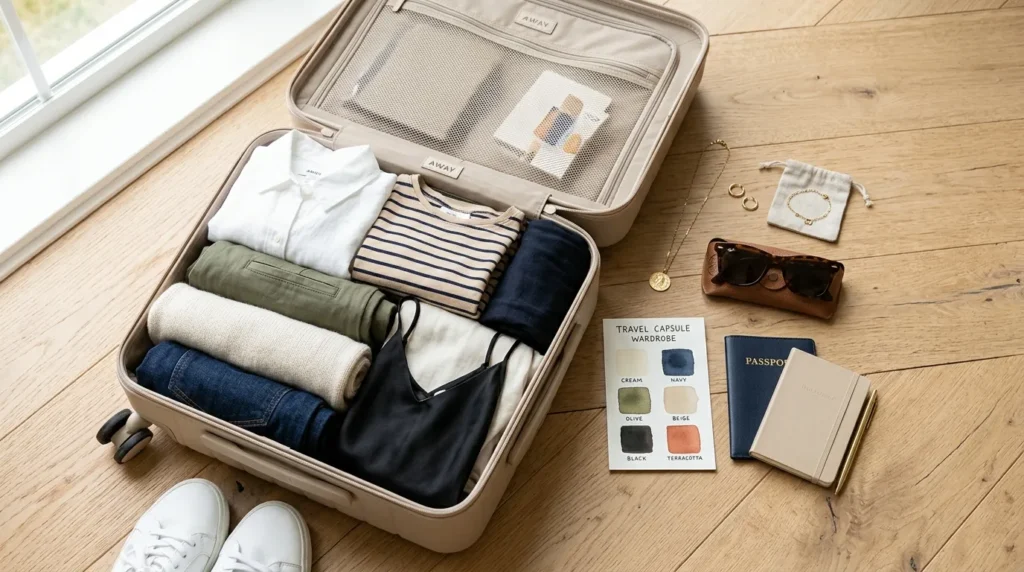
When I want zero wrinkles, I start before I pack: I choose a simple color palette (like black, white, beige, denim) plus one accent color. This keeps outfits interchangeable, so I pack fewer pieces and avoid overstuffing—overstuffing is the fastest way to crease everything. A capsule also means I’m not digging through layers, which helps clothes stay smooth and folded. Less chaos inside the bag = fewer wrinkles on arrival.
I lay out 8–10 mix-and-match outfits first: 2 bottoms, 1 dress option, 1 lightweight layer, and 5–6 tops. Then I add 2 “hero” pieces for photos. I screenshot the outfit combos so I don’t panic-pack extras. Finally, I pick accessories that repeat: one belt, one neutral bag, and one pair of dressy shoes. This creates variety without stuffing my carry-on tight.
2) Pick Wrinkle-Resistant Fabrics on Purpose
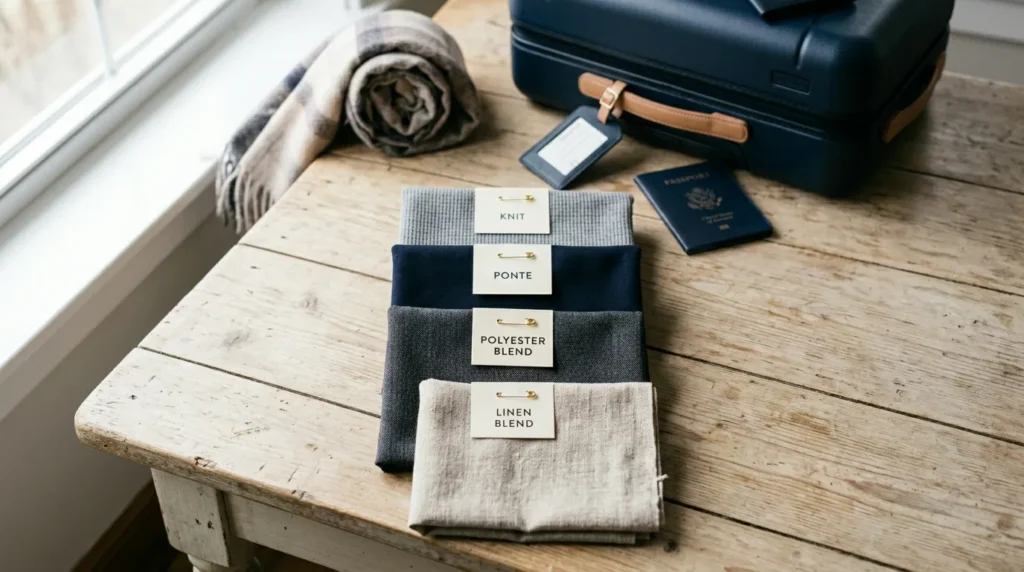
My #1 wrinkle-proof hack is choosing fabrics that don’t crease easily. I prioritize knits, ponte, ribbed pieces, structured cotton blends, and polyester blends that bounce back. I avoid packing “high maintenance” fabrics as my main outfits—like thin linen, stiff cotton, or silky pieces without structure—unless I’m willing to steam them. Fabric choice matters more than any folding method, especially in a tight carry-on where pressure makes creases happen.
Before packing, I do a quick “scrunch test” at home: I squeeze the fabric in my fist for 5 seconds, then release. If it looks rough right away, it’s not my travel pick. I also choose darker or patterned pieces because they hide minor creases better. If I really want linen, I choose linen-blend or pack it as a top layer so it’s not crushed under heavier items.
3) Use the “Flat Base + Roll Top” Method
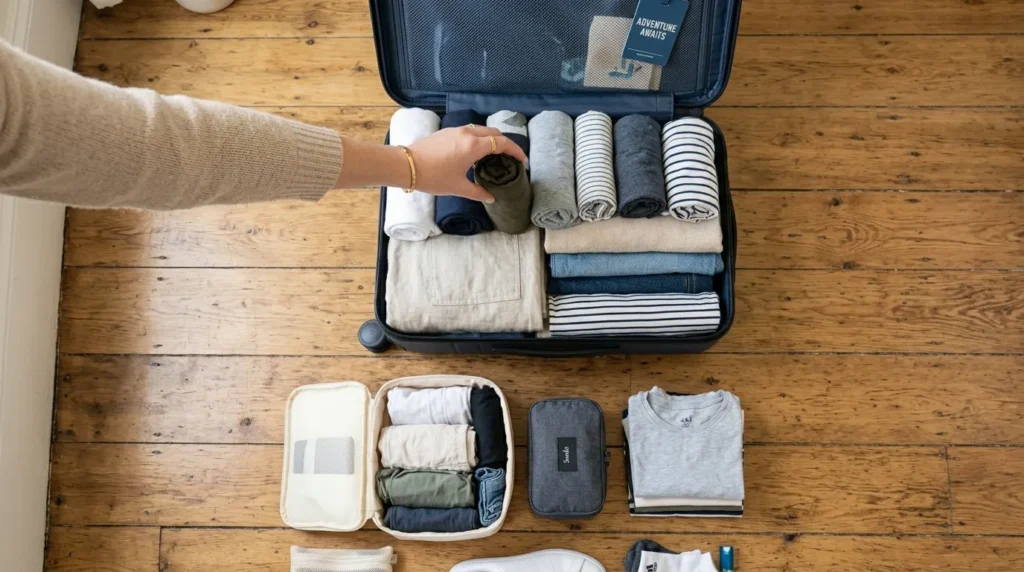
I don’t roll everything and I don’t fold everything—I do a hybrid. Bulky rolling can create weird dents, while flat folding can crease if it’s crushed. My best zero-wrinkle combo is a smooth base layer (flat-folded items) and soft rolls on top. This keeps structure where I need it and prevents sharp fold lines on delicate items. It also makes it easier to grab what I need without disturbing the entire suitcase.
I start with flat pieces: pants, blazers, structured skirts—folded once or twice and laid smooth. Then I roll softer items like tees, tanks, and loungewear into firm “logs” and place them along the edges. The middle stays mostly flat. If I’m packing a button-down, I keep it folded flat and place it near the top. I finish by gently pressing down, not forcing the zipper closed.
4) Wrap “Bundle-Fold” for Dress Shirts and Dresses
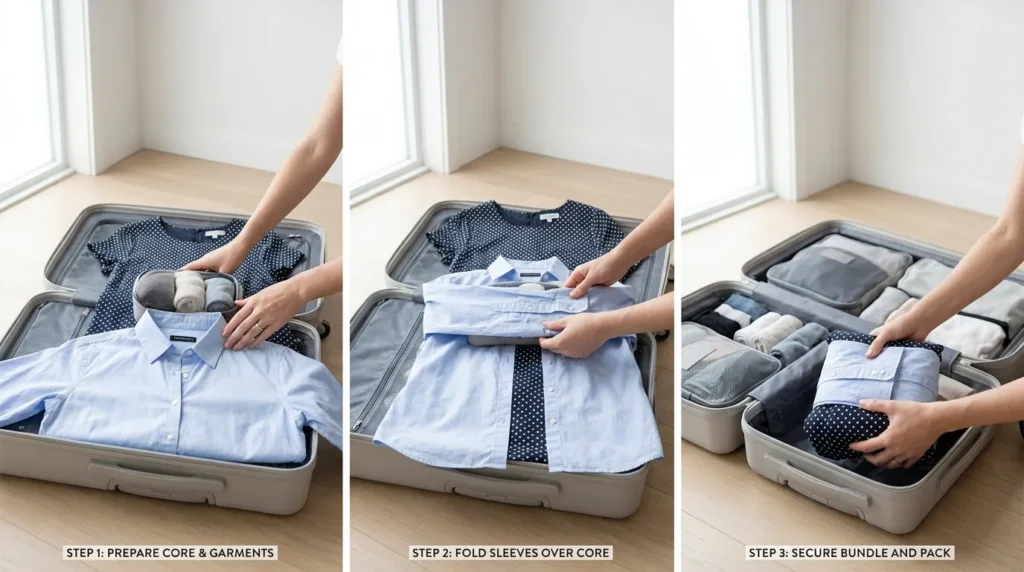
When I need something to look crisp (a dress, blazer, or button-down), I use a bundle fold. It prevents hard crease lines because items wrap around a soft core instead of folding sharply. This method works best in carry-ons because it uses the suitcase space like a protective shell. It also keeps dressier pieces together, so I’m not sliding them around every time I grab sneakers or a hoodie.
I make a soft center with pajamas or a knit tee. Then I lay my dress shirt face down, fold arms across gently, and wrap the bottom up around the core. Dresses go next, then lightweight layers like a cardigan. I keep the bundle near the top of the suitcase so it’s not crushed by shoes. When I unpack, I hang the bundle immediately so the fabric relaxes fast.
5) Pack a Lightweight “Folder” for One Perfect Outfit
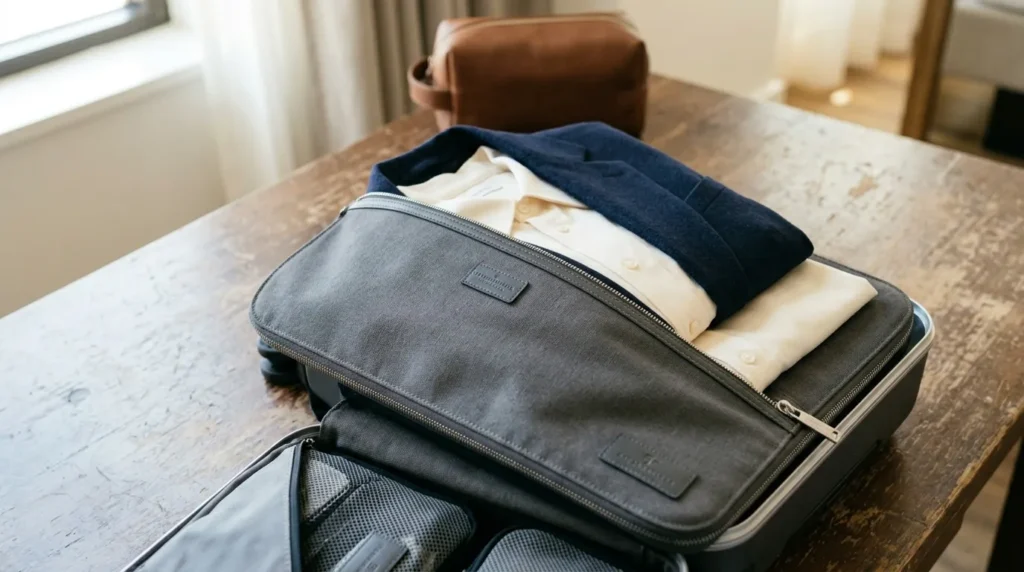
If I need one outfit to be perfect, I give it its own protection. A slim garment folder (or even a stiff document folder) keeps a dress shirt, blazer, or dress flat and supported. This is my go-to for business trips, weddings, or dinner reservations where I don’t want to rely on hotel steaming tricks. It also reduces “edge creases” that happen when clothes bend around cubes and shoes.
I pick my most important outfit and layer it inside the folder: shirt on top, then pants or skirt, then a blazer. I smooth each layer with my hands before closing. I place the folder on top of everything else in the carry-on so it stays flat. If I don’t have a folder, I use a clean tote bag + a magazine or thin cardboard to create the same stiff support.
6) Use Dry-Cleaner Bags to Reduce Friction Wrinkles
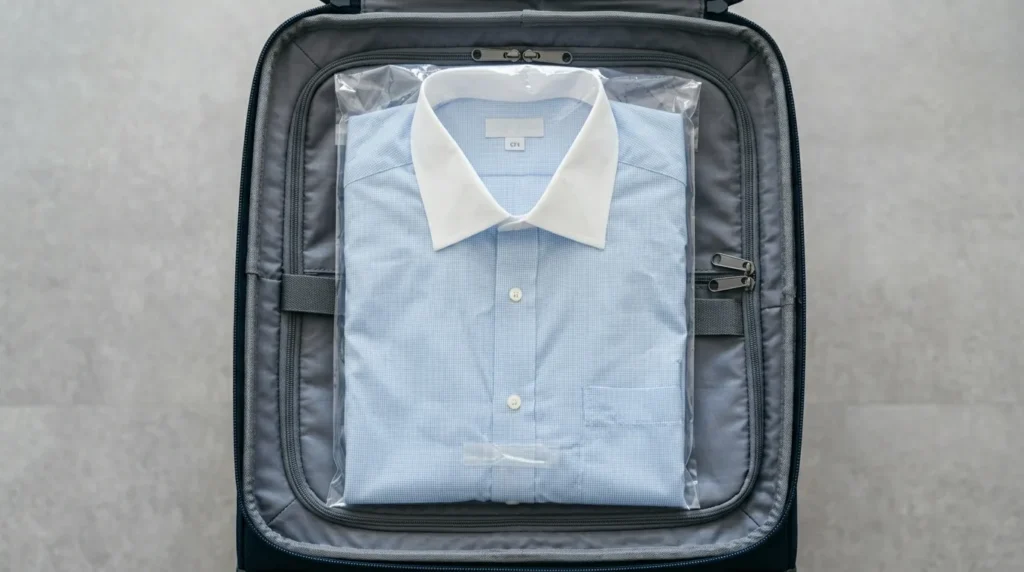
A sneaky wrinkle cause is friction—fabric rubbing against fabric while your bag gets tossed around. Dry-cleaner plastic (or any thin clean plastic) reduces friction so clothes slide instead of scrunching. I use this for dresses, blouses, and anything that shows creases easily. It’s lightweight, free, and surprisingly effective for carry-on travel because it adds protection without adding bulk.
I place a sheet of plastic between layers: one between a blouse and pants, or wrapped around a dress fold. For blazers, I put plastic around the sleeves and lapels where creases show most. The key is using thin plastic, not thick bags that add volume. When I arrive, I remove the plastic and hang the items right away. It’s a simple step that makes a big difference.
7) Tissue Paper in Folds = Fewer Sharp Lines
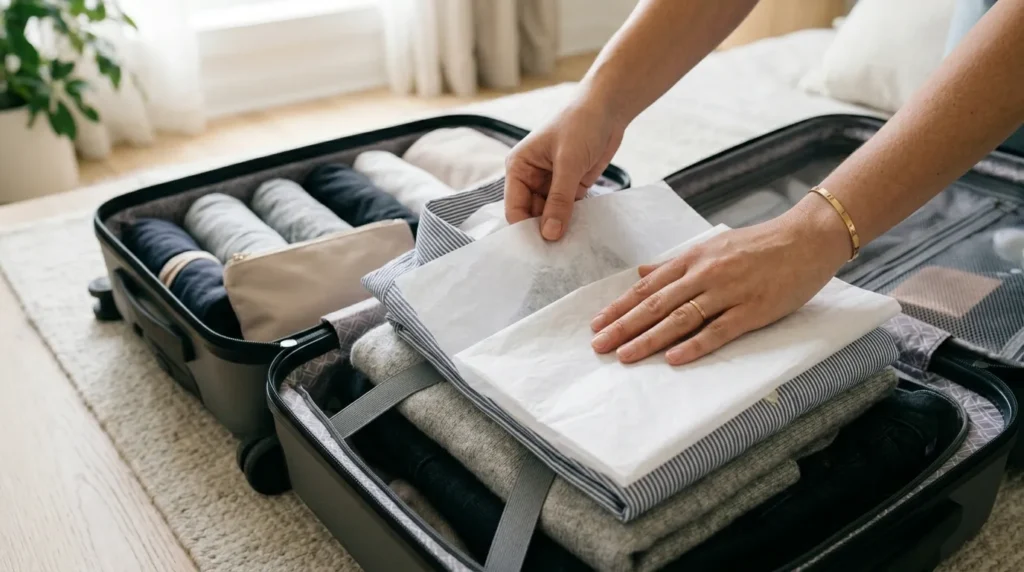
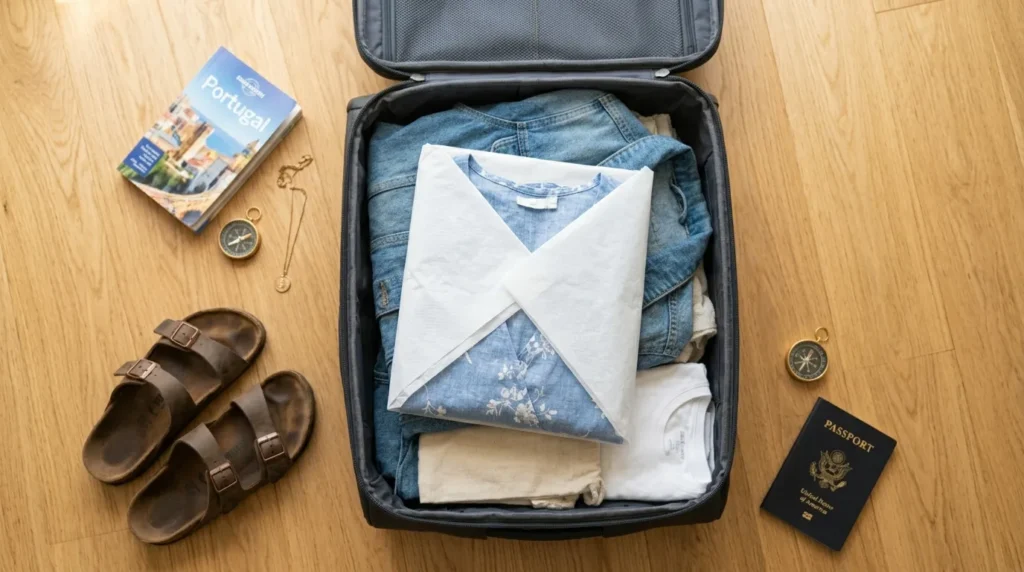
Tissue paper is my “fashion stylist” trick for preventing harsh fold lines. It creates a tiny buffer so fabric doesn’t fold against itself as sharply. This works especially well for satin-y tops, delicate blouses, and lightweight dresses that crease easily. It also helps clothes keep their shape in a carry-on where everything is packed tighter than in a checked suitcase.
I slide tissue paper inside the fold points—like inside a blouse fold at the waist or under the collar of a button-down. I also put one sheet between two delicate items. I don’t use a ton; two to four sheets are enough. If I don’t have tissue paper, I use a thin cotton scarf. The goal is simply to soften the fold and keep pressure from making a hard crease.
8) Stuff Shoes to Protect Shape and Save Space
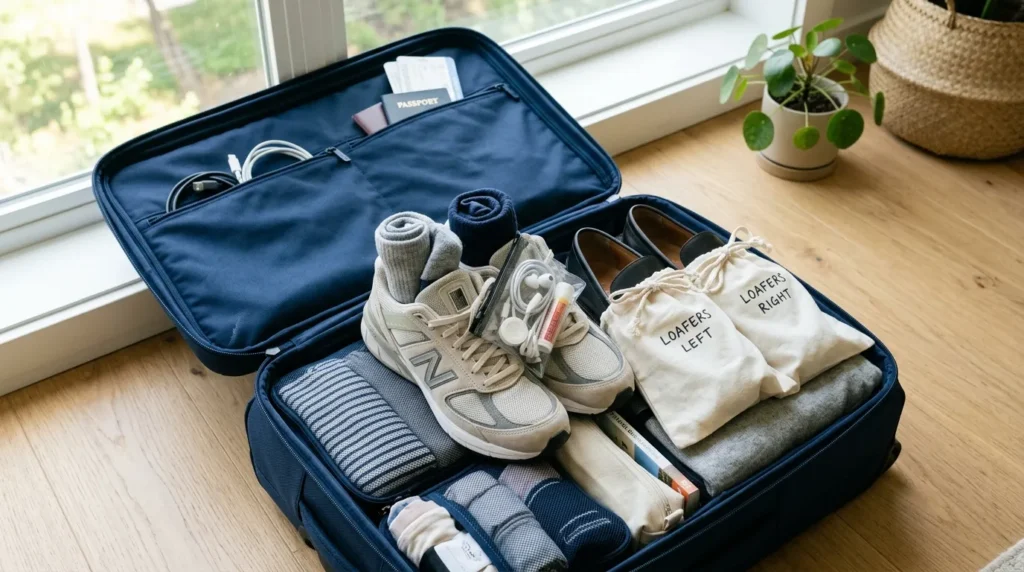
Shoes can crush clothes and create wrinkles because they form hard lumps inside your suitcase. I stuff shoes so they keep shape and don’t collapse into weird angles. It also saves space by storing small items inside them. This helps my “flat base” stay flat, which is key to avoiding creases. Plus, it keeps shoes from shifting and pressing into my nicer outfits during transit.
I stuff shoes with socks, underwear, chargers, or a soft belt bag. Then I place shoes along the suitcase edge or bottom corners in dust bags or shower caps. I never put shoes directly on top of dressy items. If I’m packing heels, I place them heel-to-toe so they fit tightly. This creates a stable shoe “wall” so my folded clothing stays smooth and supported.
9) Belt and Collars: Pack Them Like Fragile Items
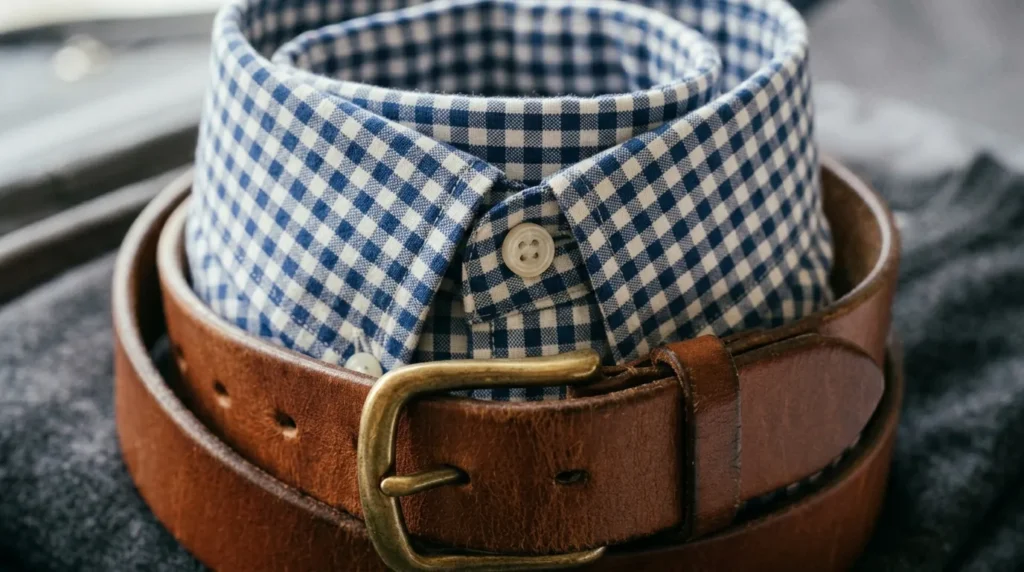
Collars and waistlines are where wrinkles show up first in photos. I treat collars like fragile items and protect them so they don’t fold into a sharp bend. A belt can also create dents if it’s thrown in randomly. Instead, I pack belts in a controlled way and use them to support structured areas. This is a small detail, but it’s what makes outfits look “fresh” instead of travel-worn.
For a button-down, I button the top two buttons and lay the collar flat. I place tissue paper under the collar or use a soft scarf buffer. Belts get rolled loosely (not tight) and placed along the suitcase edge. If I’m packing a blazer, I keep lapels smooth and avoid placing anything heavy on top. This keeps shape intact and prevents weird crease marks.
10) Make the Bottom Layer a “Smooth Mattress”
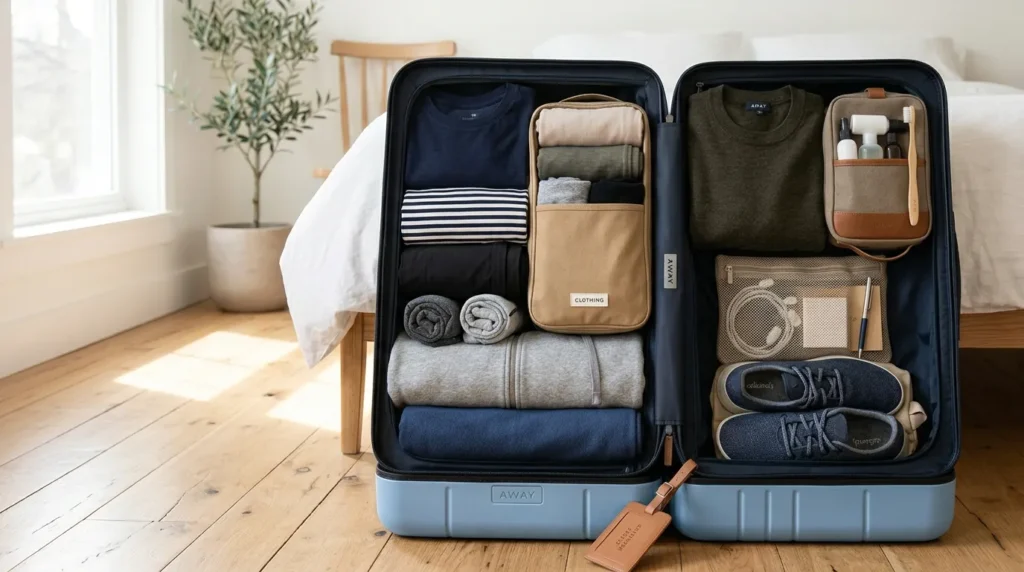
Wrinkles happen when clothes sit on uneven surfaces. So I create a smooth base—like a mattress—using a hoodie, travel towel, or soft cardigan. This cushions bumps from suitcase handles and wheels, and it prevents pressure points that cause crease lines. In a carry-on, the base matters because the suitcase structure is closer to your clothes. A padded foundation gives everything above it a better chance of staying smooth.
I fold one soft item flat and place it at the bottom. Then I add my structured folded pieces on top, smoothing as I go. If my suitcase has a curved edge or a hard handle ridge, I fill that gap with socks or a soft tee so it doesn’t press into my clothes. Think of it as leveling the surface. This simple step reduces “mystery wrinkles” that appear from suitcase hardware.
11) Pack Blazers the “Inside-Out Shoulder” Way
Image Prompt: Vertical 2:3, blazer folded inside-out with shoulders nested, placed neatly in a suitcase, clean instructional style, soft daylight.
Blazers wrinkle easily because shoulders and lapels have structure. My best trick is folding a blazer inside-out so the shoulders nest together. This protects the outer fabric and reduces sharp creases on the front. It also keeps the blazer shape intact, so it looks polished even after travel. If I’m going to dinner or a show right after landing, this is the difference between looking styled and looking crumpled.
I turn the blazer inside-out, fold one shoulder into the other, and smooth the lapels. Then I fold it once through the middle, keeping the fold soft (tissue paper helps here). I place it near the top of the suitcase or inside a folder. If I’m packing two blazers, I stack them with plastic between layers to reduce friction. On arrival, I hang it immediately and let gravity do the rest.
12) Dresses: Fold Once, Then “Float” Them on Top
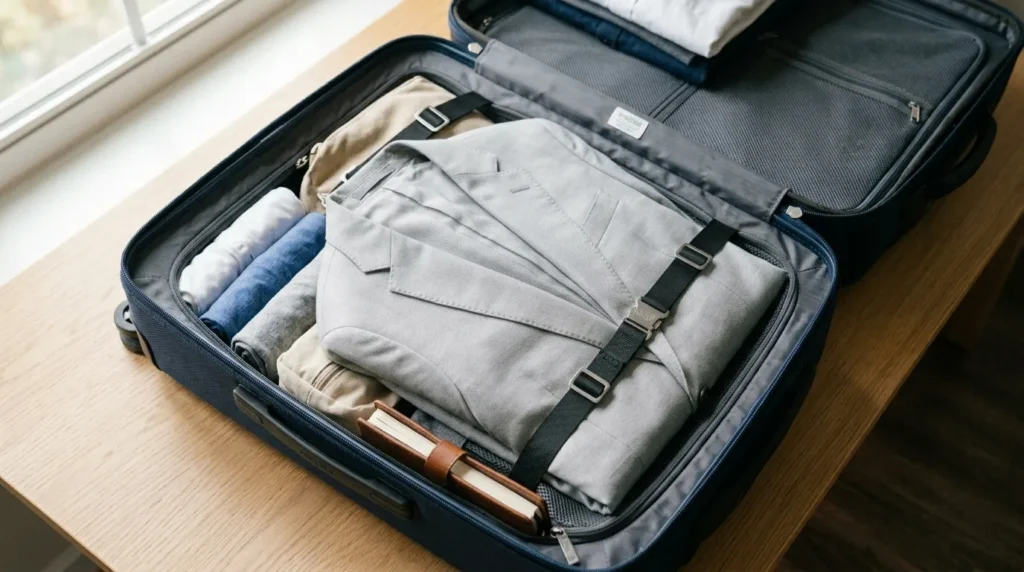
Dresses can look wrinkled fast because they have large fabric panels. I avoid multiple folds. Instead, I fold once (or twice max) and place dresses near the top so they aren’t crushed. Dresses should “float” above heavier items like shoes and jeans. This is especially important in carry-on travel because the compartment is tight and pressure builds quickly when you zip it closed.
I lay the dress face down, smooth it, fold sleeves inward, and fold the bottom up once. If it’s long, I do one additional fold, but I add tissue paper at the fold line. Then I place it flat above my packing cubes. If my suitcase has a compression panel, I keep the dress on the side that won’t get squeezed too tightly. When I reach the hotel, I hang it first—before unpacking anything else.
13) Knitwear: Roll Loosely, Don’t “Cram-Roll”
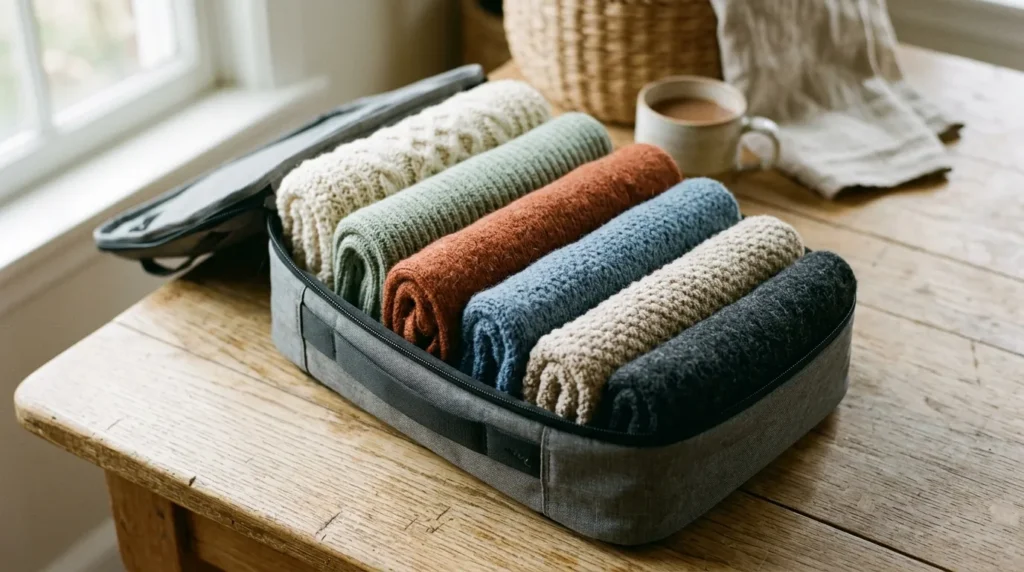
Knitwear is naturally wrinkle-resistant, but it can get stretched or dented if rolled too tightly. My rule is loose rolls that hold shape without compressing. This prevents crease ridges and keeps sweaters looking fresh. It also helps them breathe, which matters if you’re moving between warm airports and cold outdoor weather. Knitwear is perfect for carry-on trips because it forgives small packing mistakes—if you pack it correctly.
I fold the sweater once lengthwise, then roll from the bottom up without pulling or tightening. I place rolled knits along the suitcase edges or inside a cube so they don’t unravel. If it’s a chunky sweater, I fold it flat instead and place it at the top. I also avoid packing heavy items on top of knits to prevent “pressure dents.” This keeps sweaters soft, smooth, and photo-ready.
14) Underwear + Socks = “Gap Fillers,” Not a Mess Pile
Small items can create wrinkles when they’re shoved randomly into empty spaces. I use socks and underwear as gap fillers in a controlled way to stabilize the suitcase. This keeps the interior tight and prevents clothes from shifting, which causes friction creases. Think of it as creating a firm, even pack that doesn’t bounce around. When everything stays in place, clothes stay smoother and you spend less time fixing wrinkles later.
I keep underwear and socks in a small pouch or cube first. Then I use a few socks to fill corners near suitcase wheels or handle ridges. I never toss loose items on top of folded clothes. If I have tiny gaps between packing cubes, I slide a soft item there so it doesn’t bulge. This creates a clean “locked-in” structure so your neat folds don’t get disturbed during travel.
15) Toiletries: Leak-Proof Setup to Protect Clothes
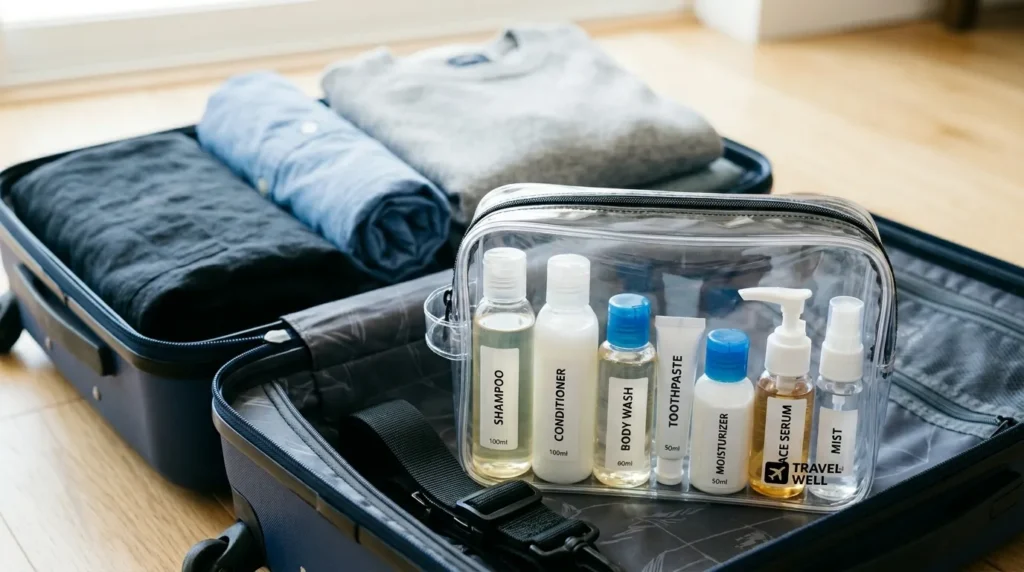
Wrinkle-free packing isn’t just about folds—it’s also about preventing disasters. A small leak can soak fabric, and wet fabric wrinkles badly. I pack toiletries like they’re risky cargo: double sealed, upright, and isolated. This keeps clothes dry and prevents last-minute outfit emergencies. In a carry-on, toiletries sit close to your clothing, so you need a system that’s consistent every trip.
I put liquids in a clear zip bag, then place that bag inside a structured toiletry case. I tape down flip caps, keep bottles under 3.4 oz, and pack everything upright if possible. I also separate skincare oils and perfume in a mini zip pouch. Toiletries always go in an outer compartment or along the suitcase edge—never under my dressy clothes. It’s a simple habit that protects your whole suitcase.
16) Pack a “Laundry Divider” So Clean Clothes Stay Crisp
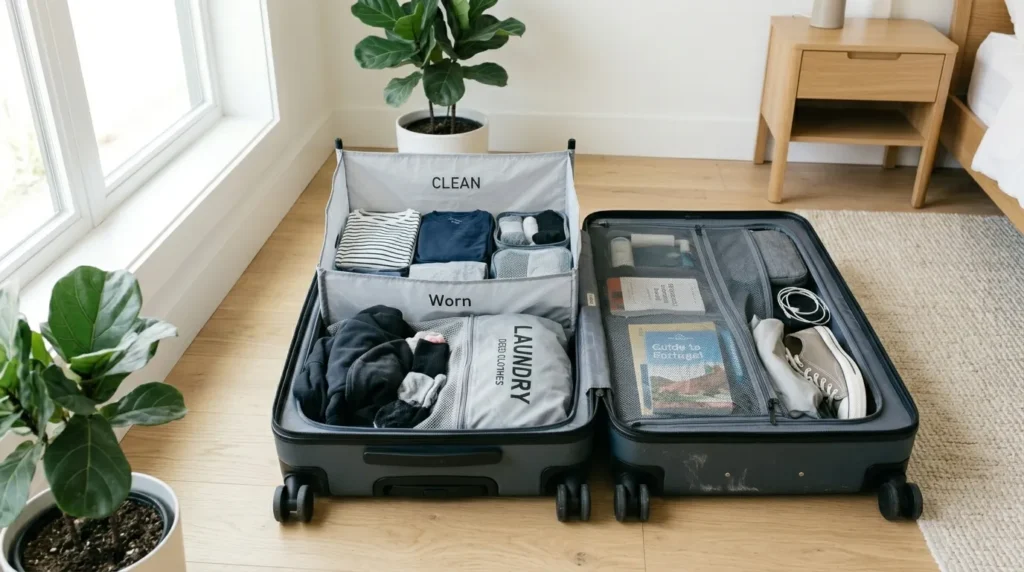
Mixing worn clothes with clean clothes creates wrinkles fast because the suitcase becomes messy and compressed. I bring a lightweight laundry bag or foldable tote so worn items have a dedicated space. This keeps my neat folds intact throughout the trip, not just on day one. It also makes repacking for the return flight way easier—no frantic suitcase digging that crushes everything. Clean stays clean, smooth stays smooth.
As soon as I change outfits, the worn items go straight into the laundry bag—no exceptions. If the bag is breathable, even better. I keep it at the bottom or in a separate compartment so it doesn’t sit on top of my clean capsule pieces. On the return trip, I pack clean items flat again and compress the laundry bag in the corners. This keeps your last-day outfits from arriving home wrinkled.
17) Add a Mini Wrinkle-Release Spray (Travel-Safe)
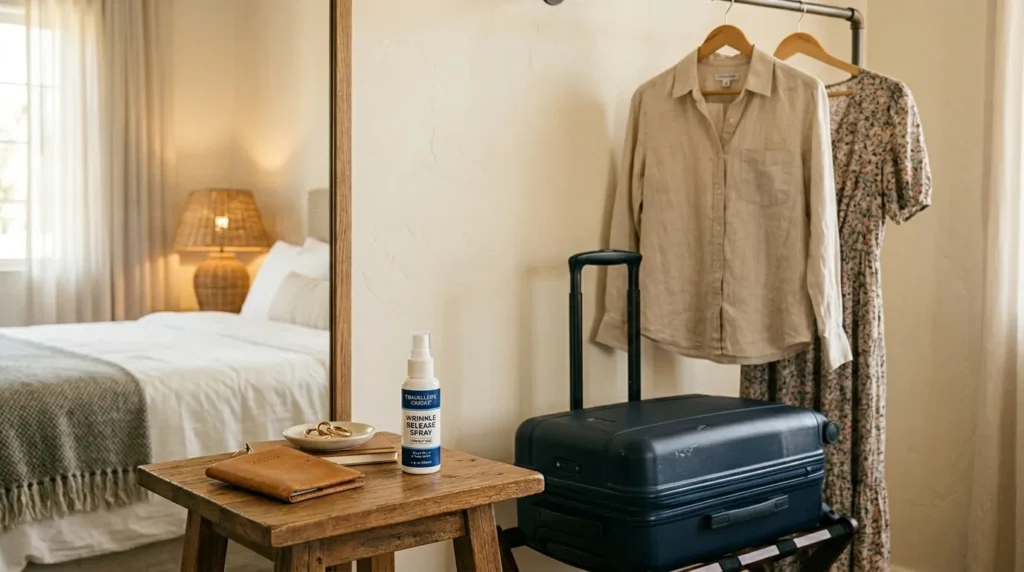
Even with perfect packing, you’ll sometimes get minor creases—especially in humid or windy destinations. A travel-size wrinkle-release spray is my quick fix because it’s faster than ironing and easier than finding a steamer. It’s also perfect for carry-on travel because it takes almost no space. A few sprays can make a shirt look refreshed in minutes, which is great if you’re heading straight to dinner or a meeting.
I decant wrinkle-release into a TSA-friendly bottle and keep it in my liquids bag. On arrival, I hang the item, spray lightly from a distance, and smooth the fabric with my hands. Then I tug gently downward to relax the fibers. I let it air dry for 5–10 minutes. This works best on knits, cotton blends, and casual dresses. For stubborn creases, I combine it with the shower steam trick.
18) Pack a Tiny Travel Steamer (If You’re Outfit-Serious)
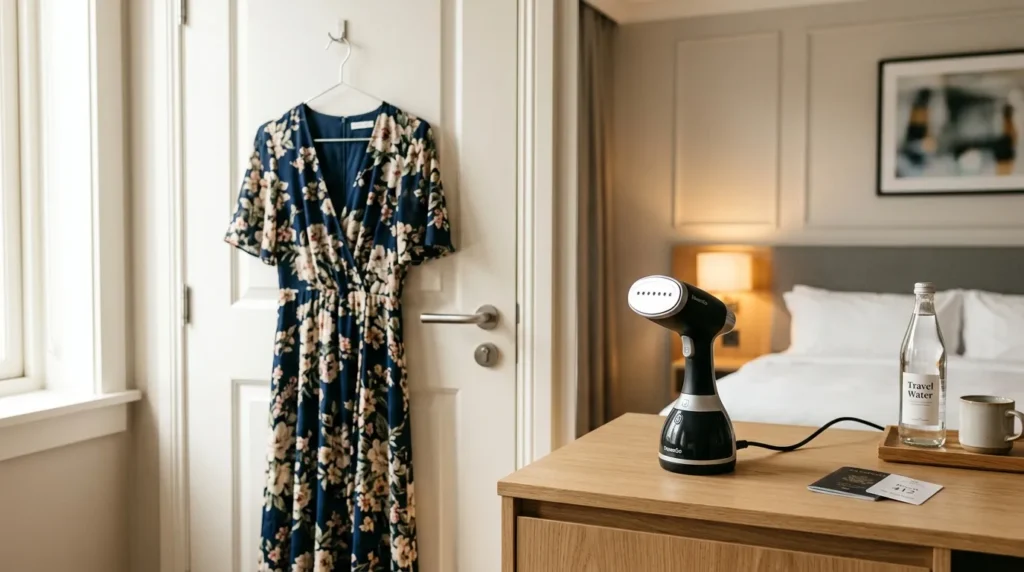
If I’m going somewhere with lots of photos—Vegas, weddings, cruises—I bring a compact travel steamer. It’s the fastest way to get truly wrinkle-free results without fighting hotel irons. Steam relaxes fabric gently, and it’s safer for delicate materials than a hot iron. For carry-on travel, choose a small steamer that fits in a shoe bag or cube so it doesn’t bang around and take over your luggage space.
I pack the steamer in the center of my suitcase between soft items to cushion it. When I arrive, I hang clothes and steam them in a quick routine: dresses first, then tops, then outer layers. I steam from the inside for delicate fabrics and avoid soaking the garment. If I’m skipping the steamer, I plan outfits around wrinkle-resistant pieces. But for a “pro” look, steaming is unbeatable.
19) Unpack in 3 Minutes: Hang First, Then Organize
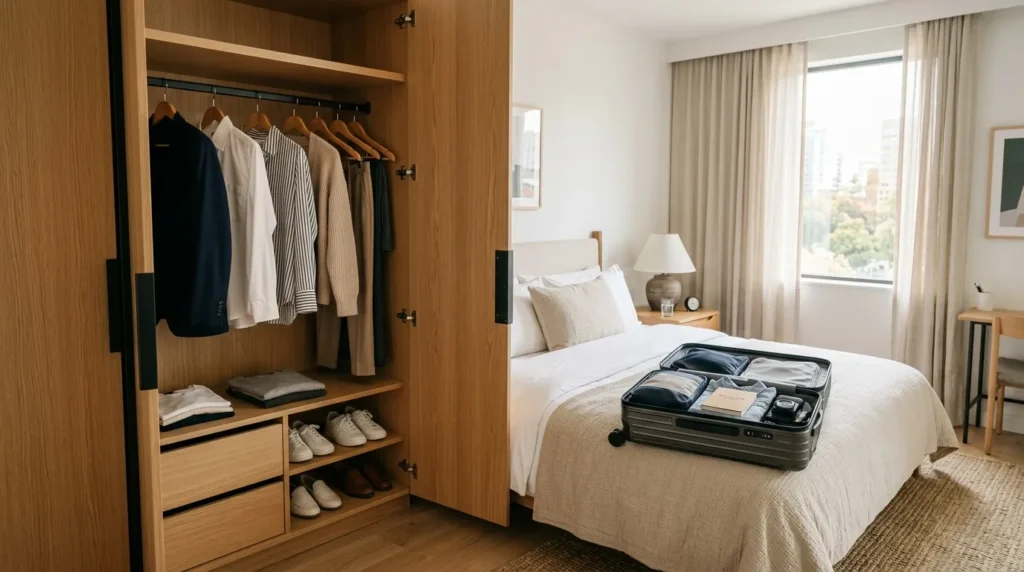
I hang dresses, blouses, blazers, and anything I’ll wear in the next 24 hours. Then I lay pants flat or fold them on a shelf. If there’s no closet, I hang items on hangers using the bathroom door or a travel hook. I also open packing cubes so air circulates. This routine keeps your capsule neat for the whole trip and reduces daily outfit wrinkles caused by suitcase rummaging.
20) Use Shower Steam the Right Way (No Iron Needed)
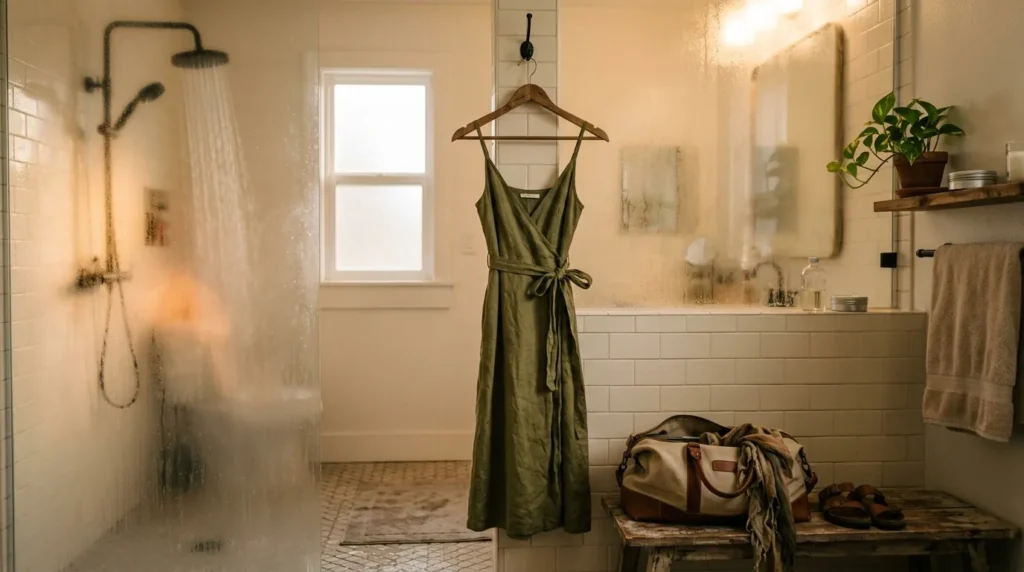
The shower steam trick works—but only if you do it correctly. Steam relaxes fibers and smooths wrinkles naturally. It’s perfect for carry-on travel because you don’t need extra tools. I use it for light wrinkles on dresses, tees, and blouses, especially if the hotel iron is questionable. It’s also great the night before a big dinner because it’s simple and doesn’t require you to stand there ironing in a tiny room.
I hang the garment in the bathroom, away from direct water splashes. I run a hot shower for 8–10 minutes with the door closed. Then I turn off the water, gently smooth the fabric with my hands, and leave it hanging while the steam settles. I don’t do this for heavy denim or thick cotton—it’s best for lighter fabrics. If the wrinkle is stubborn, I spray lightly with wrinkle-release first.
21) Don’t Over-Compress: Leave “Air” for Smooth Folds
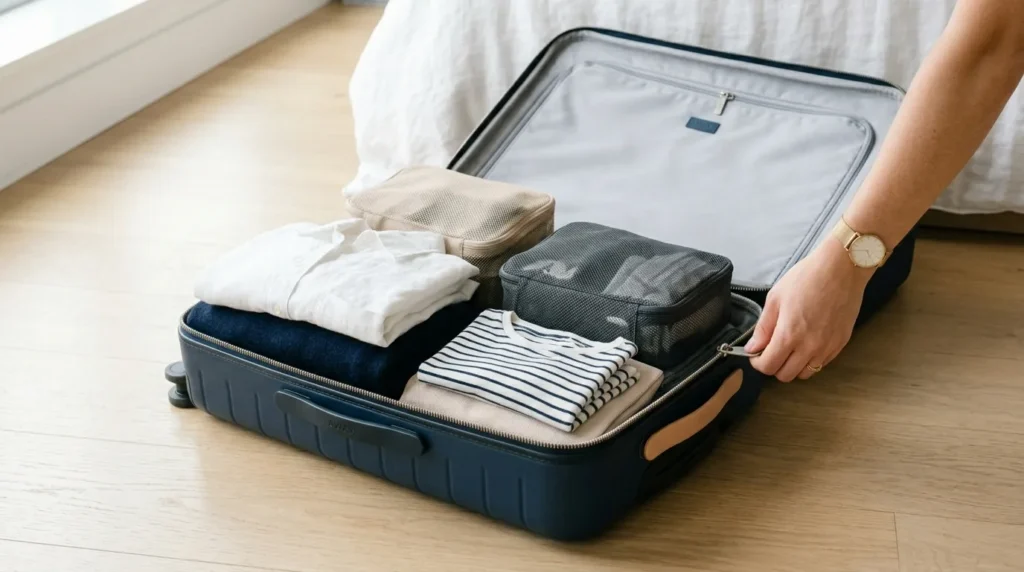
The most overlooked wrinkle cause is over-compression. When you force the zipper, you’re creating hard pressure lines across your clothes. I pack so the suitcase closes smoothly—no wrestling. Having a little air inside allows fabric to move slightly instead of being smashed into sharp angles. For carry-on travel, this matters even more because the compartment is smaller and people tend to pack it like a puzzle.
I do a quick “zip test” halfway through packing. If it’s tight, I remove one bulky item (usually a second jacket or extra shoes). I also replace thick items with lighter layers. If I use compression straps, I tighten them gently, not aggressively. The goal is stability, not squishing. A suitcase that closes easily keeps clothes flatter, prevents zipper dents, and makes unpacking much easier without wrinkling everything in the process.
22) Shoes + Accessories: Build Outfits Without Extra Clothes
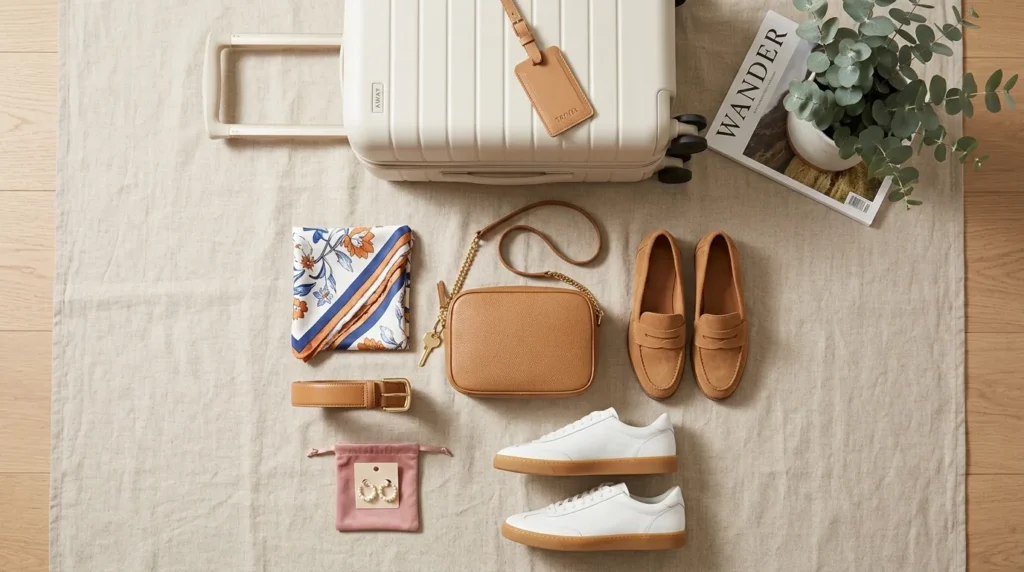
Packing like a pro means creating new looks without adding more clothing. Accessories are my wrinkle-free secret because they add variety without adding bulk or creasing risk. A scarf, earrings, and a belt can change the vibe of the same base outfit. Swapping shoes can make a daytime outfit dinner-ready without packing another dress. This keeps my carry-on lighter, prevents overstuffing, and protects my folded items from being crushed by unnecessary extras.
I pack one day shoe (sneakers), one easy sandal, and one night shoe (block heel or sleek flat). Then I add a small accessory kit: gold hoops, one necklace, a belt, and a scarf that doubles as a shawl. I choose one small crossbody that works day and night. With this setup, I can repeat basics like black pants and a tank but still look different in photos—without stuffing my bag.
23) My Final “Zero Wrinkles” 60-Second Checklist
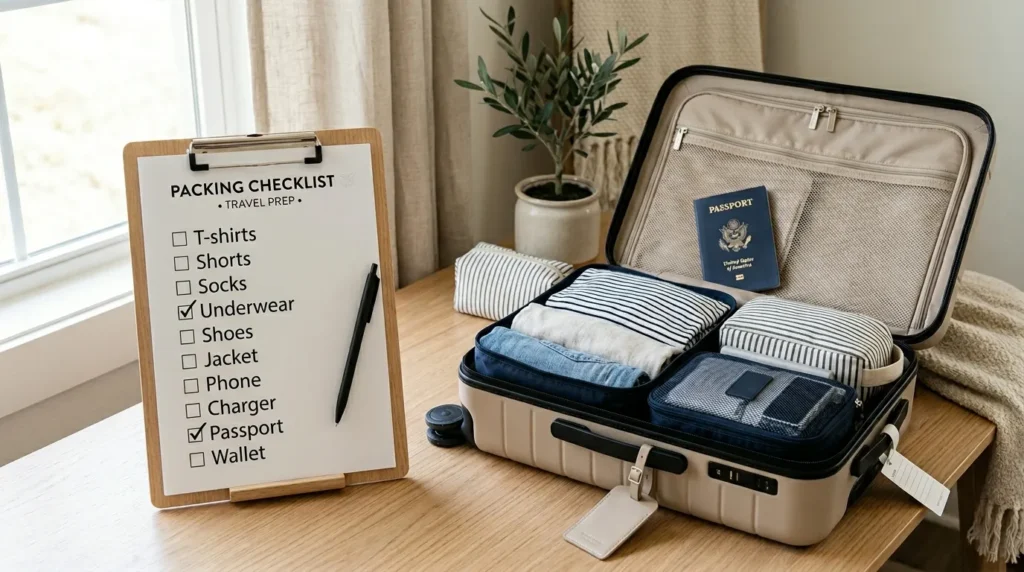
Before I zip my carry-on, I do one last check that prevents 90% of travel wrinkles. I look for bulky lumps, uneven corners, and anything hard pressing into my clothing. I smooth my top layer, make sure dressy pieces are protected, and confirm toiletries can’t leak onto fabric. This final minute is what makes packing feel professional instead of rushed. It also keeps the suitcase stable so things don’t slide and rub during transit.
My checklist: (1) Dressy items on top or in a folder, (2) plastic/tissue at major fold points, (3) shoes stuffed and bagged, (4) liquids sealed and upright, (5) gaps filled with soft items, (6) suitcase closes without force, (7) wrinkle spray accessible, (8) one outfit easy to grab for arrival day. Then I zip slowly and stop if I feel resistance—because force equals creases.
